Shopsmith cabinet
So I finally got up the nerve to build a cabinet for under the Shopsmith. My first challenge was getting the wood home, as the wood wouldn't quite fit in the back of our Rav4. I went back in to the store and had them rip my lumber further so I could get it in. The unfortunate part was the temperature, wind, and boards that kept sliding off the seat and out the back door. It was not very amusing but I eventually got it all home.
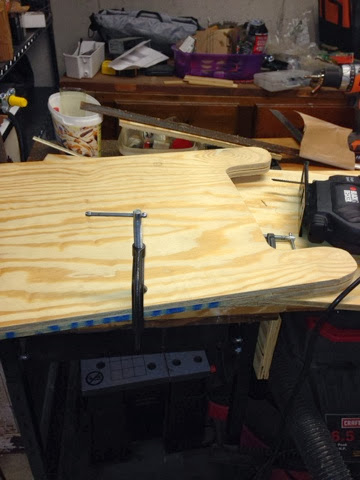


So in this learning experience I got out my dado blades and worked on my first dado's. I was doing pretty good until I redid a cut and then set everything up again... the table slipped slightly and I created this ventilated masterpiece:
So it was back to cutting and getting a replacement peice cut out.
While working I discovered a potential hazard while working. It would be very remote possibility, but better safe than sorry.
The cupboard for glue was bare so I dug around and found my son's old school glue.
As we mocked it up I had a great opportunity to sneak a photo of my lovely wife holding everything together.
I stopped one night to get some straight router bits and picked up this brad nailer from Harbor Frieght... wow! That made things so much faster. The directions say to use screws but my tests in the plywood weren't very favorable. If it was 3/4 it might have been better.

Comments
http://myoldgarage.blogspot.com/2014/10/cleaning-up-loose-ends-follow-up-to.html